Over time, even the most beautiful hardwood floors can begin to show their age. Scratches, dullness, and discoloration are common issues, but thankfully, refinishing can breathe new life into your floors without the need for a full replacement. If you’ve never gone through the process before, we at Mikes Custom Flooring would like to offer a step-by-step guide to what you can expect during a hardwood floor refinishing project.
Step 1: Assessment & Consultation
The process begins with a thorough evaluation of your floors. A professional will inspect for deep scratches, stains, cupping, or warped boards. Based on the condition of the wood and how many times it’s been refinished in the past, they’ll determine if your floors are good candidates for refinishing. You’ll also choose your preferred stain color and finish type, options range from matte to glossy.
Step 2: Room Preparation
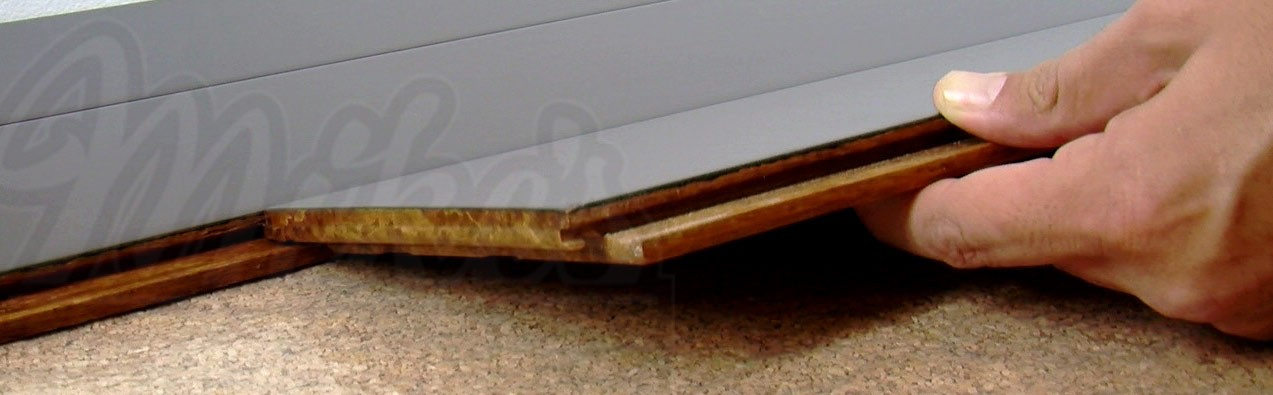
Before the sanding begins, the area must be cleared. All furniture, rugs, and personal items should be removed from the room. In some cases, baseboards may need to be taken off as well. Dust barriers and plastic sheeting may be installed to protect adjacent rooms and minimize the spread of dust.
Step 3: Sanding the Wood Floors
The sanding process is where the real transformation begins. Using professional-grade equipment, the contractor will sand off the top layer of the wood, removing old finish, scratches, and surface damage. Multiple grits of sandpaper are used to gradually smooth out the floor. Corners and edges are done with specialized hand tools to ensure even sanding across the entire surface. Dustless sanding systems are often used in modern refinishing jobs, significantly reducing the amount of airborne dust in your home.
Step 4: Staining (Optional)
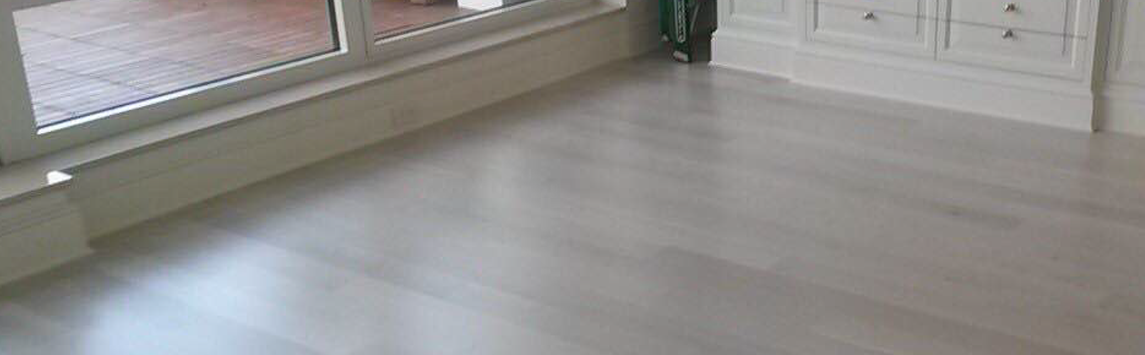
After sanding, you have the option to apply a new stain to change the color of your floors. This is your chance to match your floors to updated décor or give your home a fresh look. The stain is applied evenly and given time to fully dry, this can take anywhere from a few hours to a full day depending on the product used.
Step 5: Applying the Finish
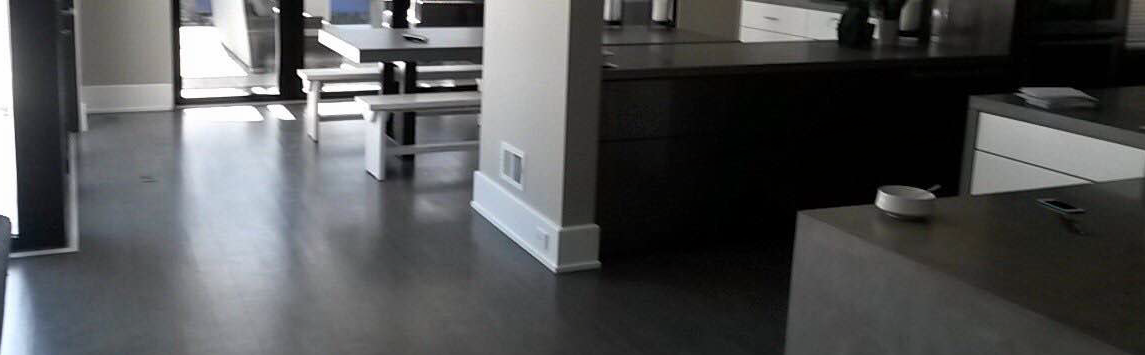
Once the stain has dried (or immediately after sanding if you opt for a natural look), several coats of protective polyurethane finish are applied. This finish protects your floors from wear and tear and gives them their final sheen. Each coat must dry completely before the next is applied, and some may be lightly buffed in between for optimal adhesion.
Step 6: Drying and Curing Time
While your floors will be dry to the touch within a few hours, full curing can take up to 7 days. Most professionals recommend waiting at least 24–48 hours before walking on the floors with socks, and several days before replacing furniture. Area rugs should be kept off the floors for about 7–10 days to avoid trapping moisture.
Hardwood Floor Installation, Repairs, Refinishing & More in Charles Town & Eastern Panhandle of Berkeley & Jefferson Counties in WV | Winchester & Frederick County | Round Hill & Loudoun County | Berryville & Clarke County | Herndon & Fairfax County VA
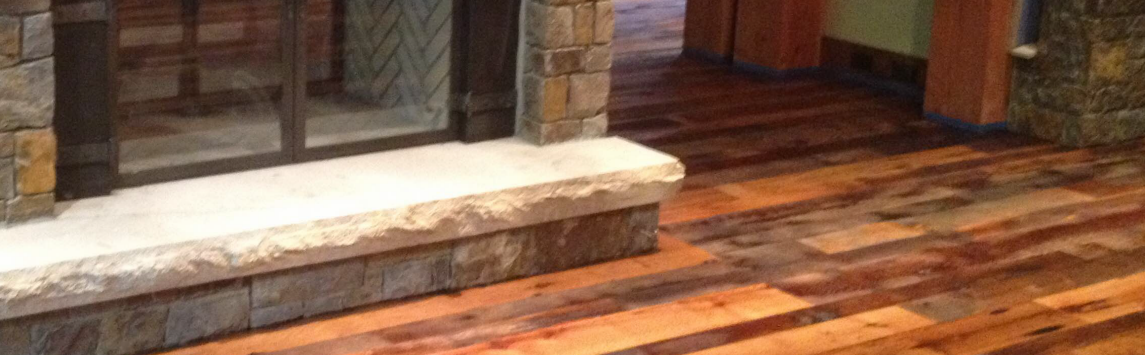
Hardwood floor refinishing is an efficient way to restore the beauty and durability of your flooring. Though it requires a bit of planning and temporary inconvenience, the end result is well worth it. With proper care, your newly refinished floors can look stunning for decades to come. Call Mikes Custom Flooring if your hardwood floors are in need of refinishing services.